|
|
|
|
Low in store inventory, may be subject to change
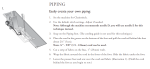
PIPING
Easily create your own piping:
1. Set the machine for Chainstitch.
2. Use the default stitch settings. Adjust if needed.
Note: Although the machine recommends needle D, you will use needle E for this
technique instead.
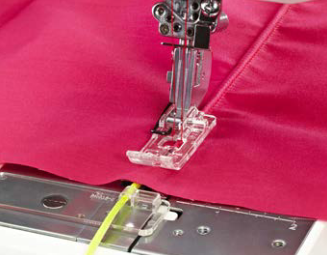
3. Snap on the Piping foot. (The cording guide is not used for this technique.)
4. Place the cord in the groove on the bottom of the foot and pull the cord tail behind the foot
about 2½” (5cm).
Note: ¼” - 5/8” (1.5 - 2.0mm) cord can be used.
5. Cut a strip of fabric on the bias, 1” (25mm) wide.
6. Wrap the fabric around the cord in the front of the foot. Slide the fabric under the foot.
7. Lower the presser foot and sew over the cord and fabric (illustration 1). (Hold the cord
behind the foot as you begin to sew.)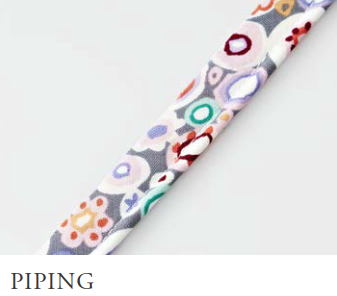

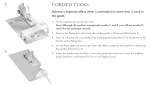
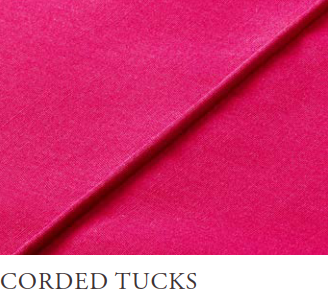
CORDED TUCKS
Achieve a trapunto effect when a coverstitch is sewn over a cord in
the guide.
1. Set the machine for coverstitch, wide.
Note: Although the machine recommends needles C and E, you will use needles D
and E for this technique instead.
2. Snap on the Piping foot and attach the cording guide as illustrated (illustration 2).
3. Insert the cord into the round hole of the cording guide and position it in the groove on the
bottom of the Piping foot.
4. Lay the fabric right side up on top of the cord. Slide it under the foot until it is underneath
the needles (illustration 3).
5. Lower the needles into the fabric. Lower the presser foot and start to sew at a medium
speed. (Hold the cord behind the foot as you begin to sew.)
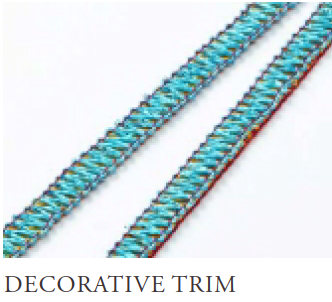
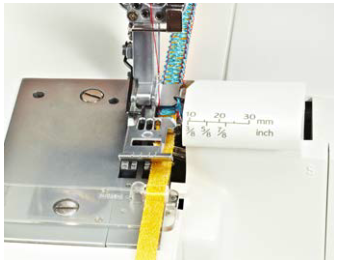
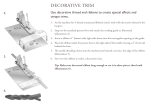
DECORATIVE TRIM
Use decorative thread and ribbons to create special effects and
unique trims.
1. Set the machine for 3-thread ornamental flatlock stitch, wide with decorative thread in the
loopers.
2. Snap on the standard presser foot and attach the cording guide as illustrated
(illustration 4).
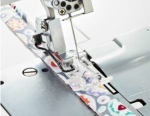
3. Insert a ribbon ¼” (6mm) wide right side down into the rectangular opening in the guide.
4. Place the ribbon under the presser foot to the right side of the needle, leaving a 2” (5cm) tail
behind the foot.
5. The needle should go down into the machine just beyond, not into, the edge of the ribbon
(Illustration 5).
6. Sew over the ribbon to make a decorative trim.
Tip: Make your decorated ribbon long enough to cut it in three pieces, then braid
(Illustration 6).